Page 13 of 20 FirstFirst ... 31112131415 ... LastLast
Results 121 to 130 of 193

Thread: New owner of Vintage Bus 1980

  1. #121
    Join Date
    May 2012
    Location
    Beverly Hills
    Posts
    4,652

    Default

    I'm curious why you didn't mount the panels closer to the outside top of the bus? Going through a tree canopy in a campground will almost always have a lower clearance on the sides of the road. Looks good. I never seen a vise mounted brake. Very cool idea for smaller material.


    Gil and Durlene
    2003 H-3 Hoffman Conversion

  2. #122
    Join Date
    Jul 2020
    Location
    Simi Valley
    Posts
    871

    Default

    Are you drilling the aluminum and steel dry? It helps if you add a little cutting fluid and watch your drill speed in steel.
    Mike Giboney
    1992 Prevost Country Coach
    #60187

  3. #123
    Join Date
    Aug 2019
    Location
    Bothell
    Posts
    196

    Default

    Quote Originally Posted by Gil_J View Post
    I'm curious why you didn't mount the panels closer to the outside top of the bus? Going through a tree canopy in a campground will almost always have a lower clearance on the sides of the road. Looks good. I never seen a vise mounted brake. Very cool idea for smaller material.
    Well the desire was to get as many solar panels as possible on the top of the bus and reduce the effect of shading that would take panels out of production when a panel is partially shaded.

    Then as I went along I considered the effect of heat from the air conditioners on solar production as well.

    I might consider fairing in the sides and a treatment on the front to transition the air flow, but hey the first step is basic functionality.

  4. #124
    Join Date
    Aug 2019
    Location
    Bothell
    Posts
    196

    Default

    Quote Originally Posted by PrevostNewbie View Post
    Are you drilling the aluminum and steel dry? It helps if you add a little cutting fluid and watch your drill speed in steel.
    Yes I was drilling it dry and I did try some cutting fluid, but it made a horrible mess. Yes I did learn to slow down the drilling speed in the steel portion. But sharp bit's made each hole a breeze to do.

  5. #125
    Join Date
    Jul 2020
    Location
    Simi Valley
    Posts
    871

    Default

    I hear you the oil can be messy if the use is not targeted. What i do is put a little cutting fluid in a small shallow dish, something heavy so it won't flip over move around easily. Only let the fluid get about 1/16" deep. When you are ready to drill, just touch the end of the drill in the fluid, it doesn't take much and this is the only place you want the fluid (on the drill point), if you feel the drill is drying out, just touch the drill in the fluid again. If you do this, most of the fluid will dry up in the drilling operation which is what you want. Shop vac and a paper towel should be all you need to clean up.
    Mike Giboney
    1992 Prevost Country Coach
    #60187

  6. #126
    Join Date
    Aug 2019
    Location
    Bothell
    Posts
    196

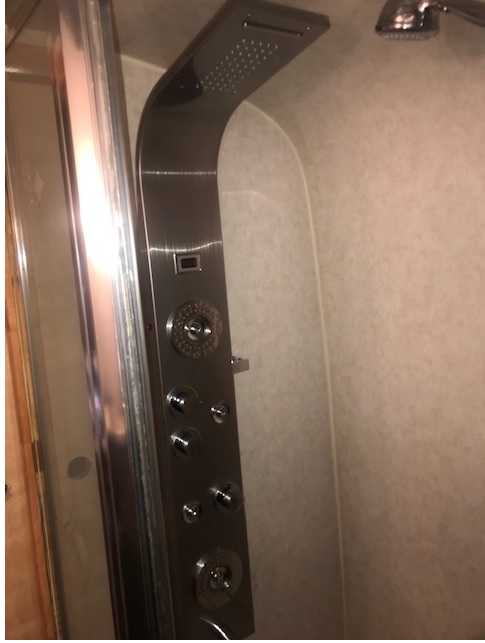
    Default New Shower/Vertical hot tub Part one

    Things are starting to cascade towards getting finished with the first phase!!!

    Anyway the next item on my wish list was a better shower.


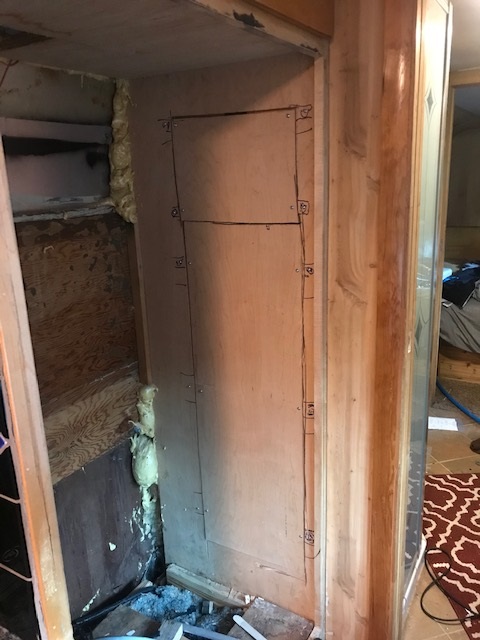
    This was quite the install process as it didn't fit where the old shower head was. The layout of my bus in this area is:


    The refrigerator/freezer has been sitting in the aisle for sometime because I have been running my solar panel and network wiring on the rear wall. This space is a vertical column of the house battery bay, refrigerator/freezer and roof vent. The refrigerator/freezer is being converted from propane/electric to a simple DC compressor setup to eliminate propane in the bus and use 1/6 the electrical power.

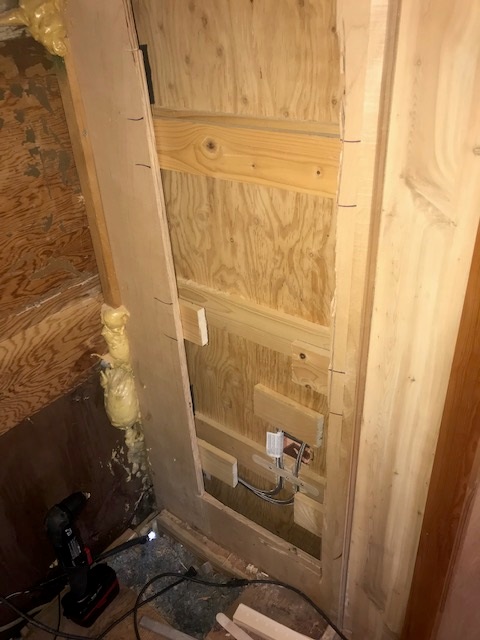
    Anyway I had to cut through the wall of the cabinet that holds the refrigerator/freezer to get through the pocket door and then to the back of the shower to mount the new shower head.


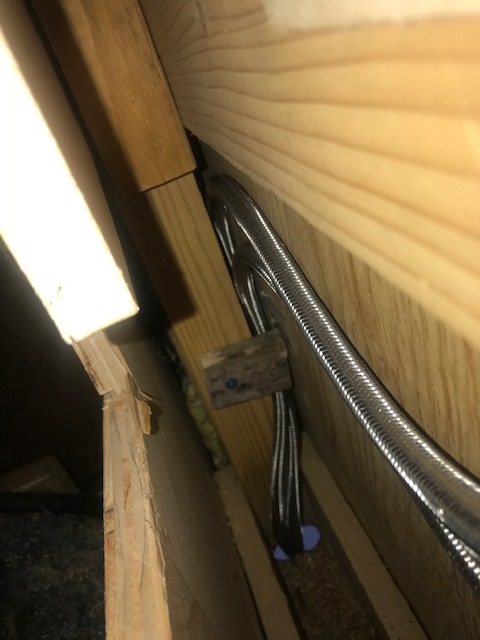
    This is very tight space, so visited a number of hardware stores until I found some 72 inch stainless steel hoses so I wouldn't have a connection that I couldn't reach.

    Also because of the sliding pocket door I had to be careful in routing these hoses so they wouldn't interfere with the pocket door.


  7. #127
    Join Date
    Aug 2019
    Location
    Bothell
    Posts
    196

    Default New Shower/Vertical hot tub Part Two

    Afterwards I filled my access cutout back in. Hey I am not a master carpenter and it's a very hidden sin LOL!!!!


    This shower will have two modes:

    1. Normal shower
    2. What I refer to as vertical hot tub mode where it is a recirculating shower. You can take a hour long hedonistic shower and not waste any water...

    Ok, back to work....

  8. #128
    Join Date
    Aug 2019
    Location
    Bothell
    Posts
    196

    Default Kitchen Rework Part 1

    Hi Everyone

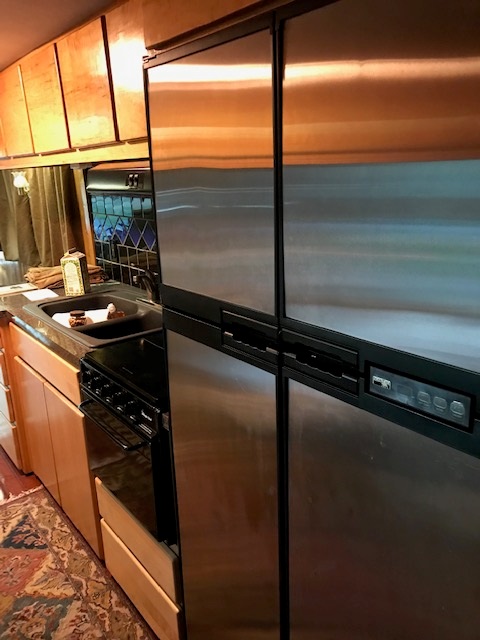
    One of the latest bits of chaos; is reworking the kitchen. Here's a picture my original kitchen:


    The bus originally had a propane stove/oven. With my solar setup I am totally doing away with propane in the bus. The refrigerator was also a dual mode propane/AC power unit, that is being upgraded via a DC compressor conversion kit.

    Where the old stove and the two drawers were; is being replaced with a dishwasher, microwave convection oven and induction cooktop.

    I didn't like the big double bucket sink that absorbed most of the counter space, so I am replacing it with a bar sized sink to get counter space back.

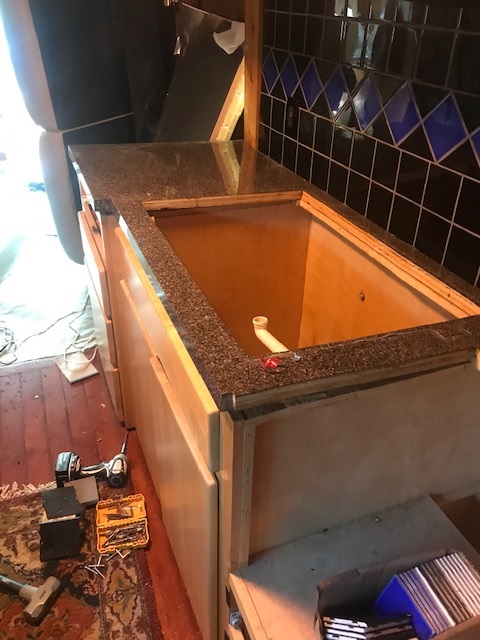
    Here's a picture as we start to remove the old counter top:


    Look at how big of a hole the old sink occupied!!!

    Anyway the demolition process was very delicate as the tile work was done after after the counter top (plywood and formica veneer) had been installed and the counter top had lots of nails that were on the edges under the tile that had to be cut first.

    We ended up having to remove the counter top a piece at time and cutting close to the back tiles, so we could then get an oscillating multi tool metal cutting blade under the remaining pieces to cut the nails flush before we could slide the old counter sections out. The metal cutting blade only has about a two inch reach.

    For this project I hired a guy who does extensive kitchen remodels to help me. He said in a house that the demolition phase is generally not more than an hour or two. We wound spending the day doing this phase to preserve the tile work and did lots of kibitzing on tactics to get around the stubborn areas. We only had a couple of tiles and a bit of grout pop loose; which we consider a major success!!

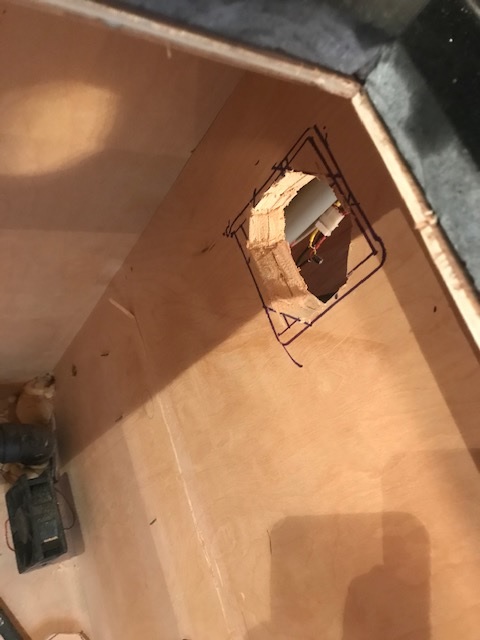
    The next task that I did was to cut a fan ventilation hole given the potential for heat build up with all the appliances in a stack:


    I would have to say that my bus has very substantial cabinetry; as all the walls are 3/4 inch thick. I had to cut this hole using plunge cuts with the oscillating multi tool.

    I will be adding another temperature sensor in this area and adding a fan to vent from this space to behind the refrigerator and out the roof vent.

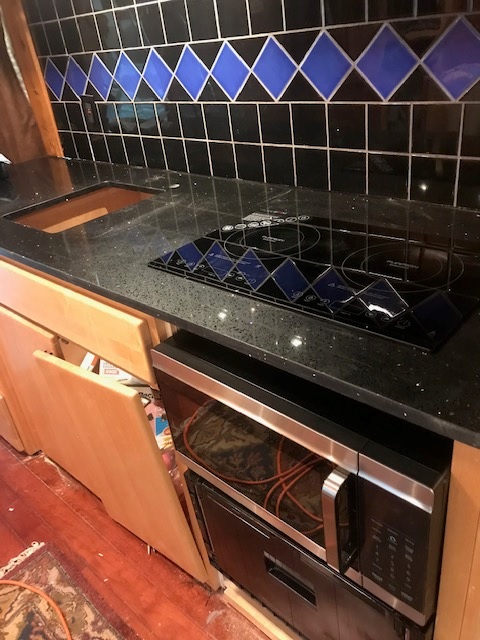
    Here's a test fit after the stone work was done for the new counter top:


  9. #129
    Join Date
    Aug 2019
    Location
    Bothell
    Posts
    196

    Default Kitchen Rework Part 2

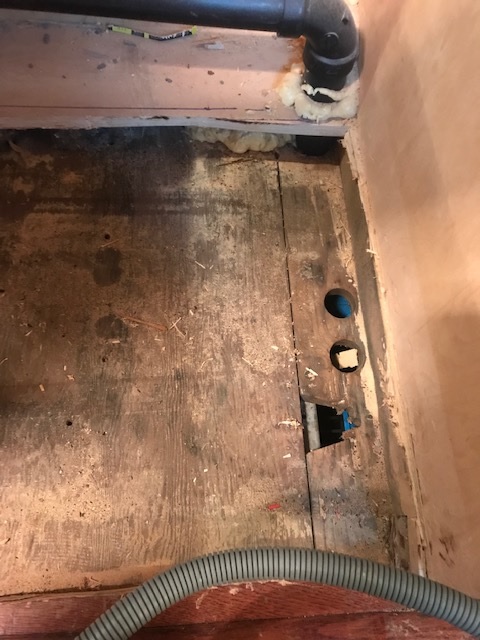
    We then encounter our first ah shit, I was reading the manual for the induction cooktop and it says there has to be six and half inch gap between the top of the cooktop and an appliance below it!!!

    So I take out my now trusty oscillating multi tool and cut out the floor of the now gutted cabinet to get more vertical space.


    As you can see we are now down to the original floorboard and see evidence that the cabin has been through multiple generations of do overs by previous owners.

    This cabinet surgery gained me another 2 1/2 inches of vertical space for the induction cooktop, so we are now at 5 1/2 inches. So close as I am going to get!!!

  10. #130
    Join Date
    May 2019
    Location
    Leesburg
    Posts
    530

    Default

    Freds:
    One question
    Is it legal for you to be having this much fun? LOL
    Nice work, maybe someday I will get that ambitious.
    Chuck
    Chuck & Katrina
    2000 Featherlite
    H3-45 Double slide
    2014 Jeep Grand Cherokee Diesel

Posting Permissions

  • You may not post new threads
  • You may not post replies
  • You may not post attachments
  • You may not edit your posts
  •